2. Creating a new project
Now, you're ready to code.
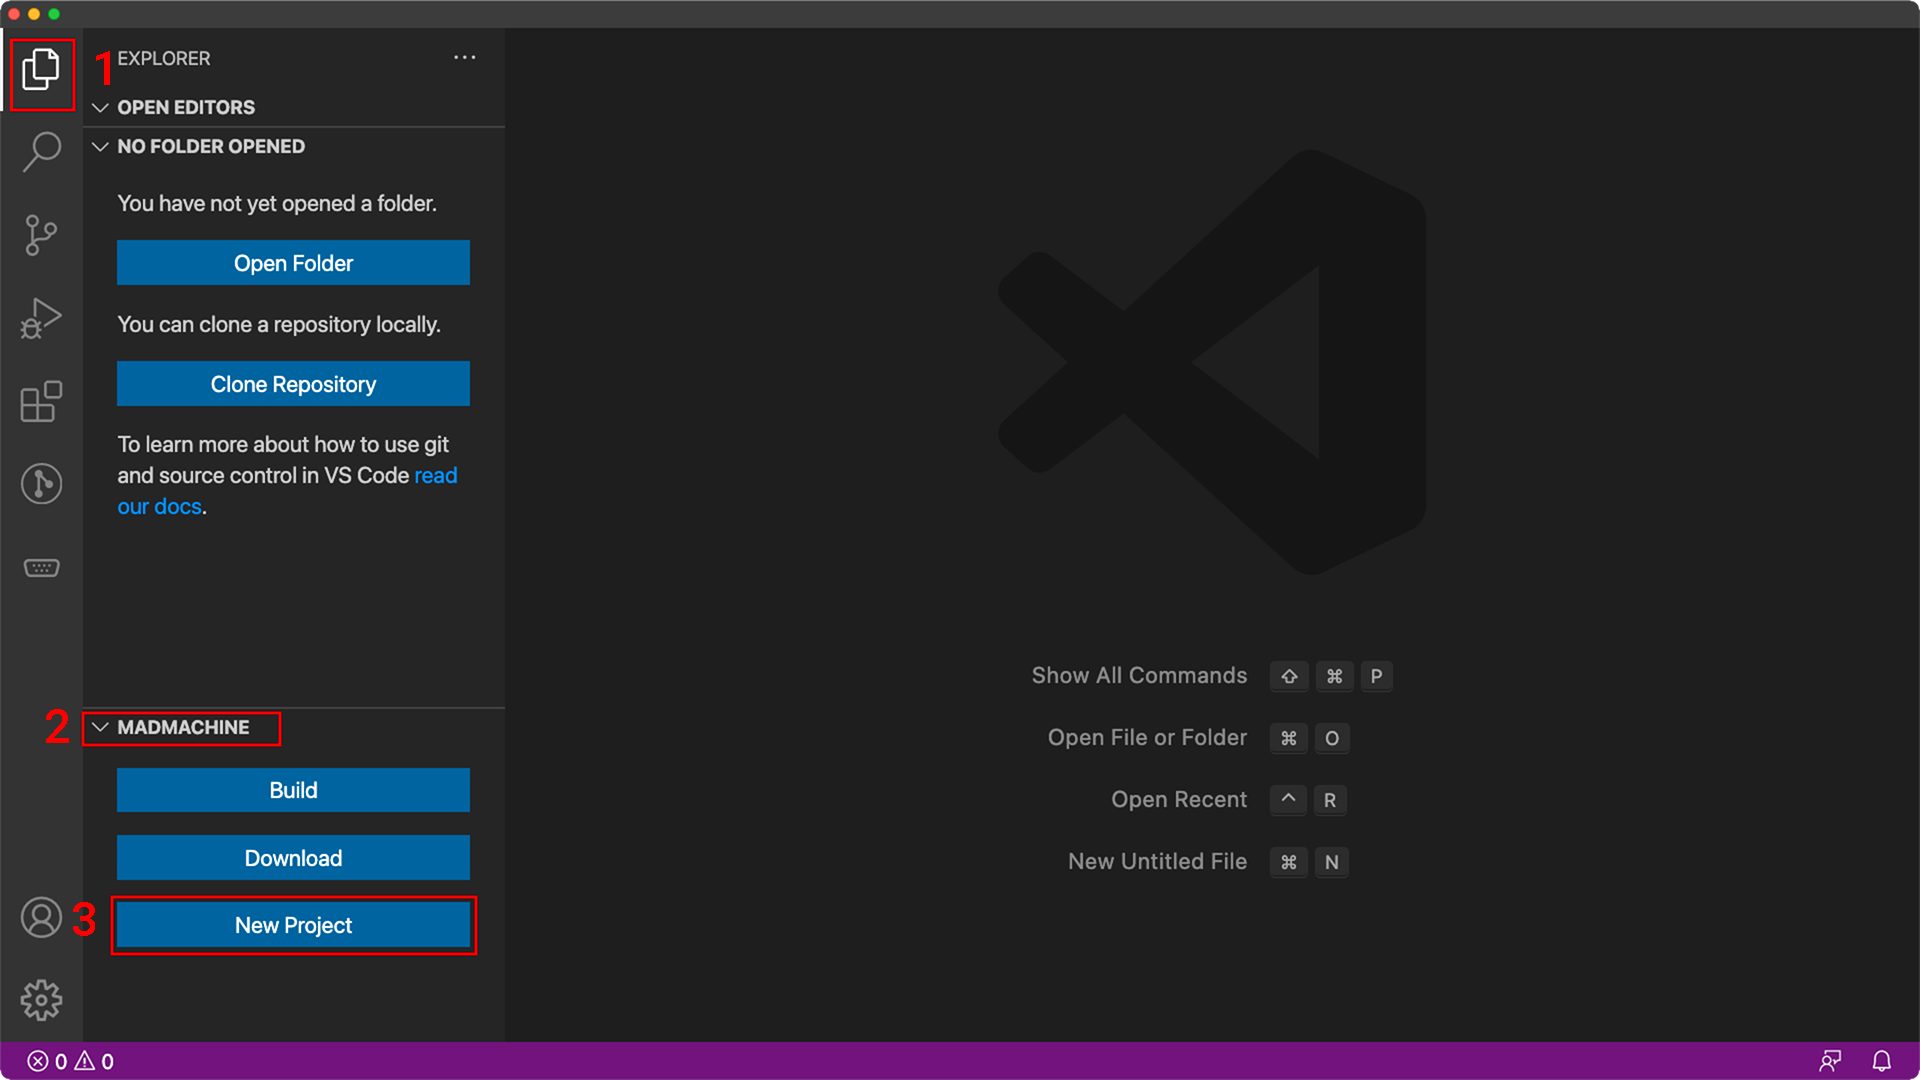
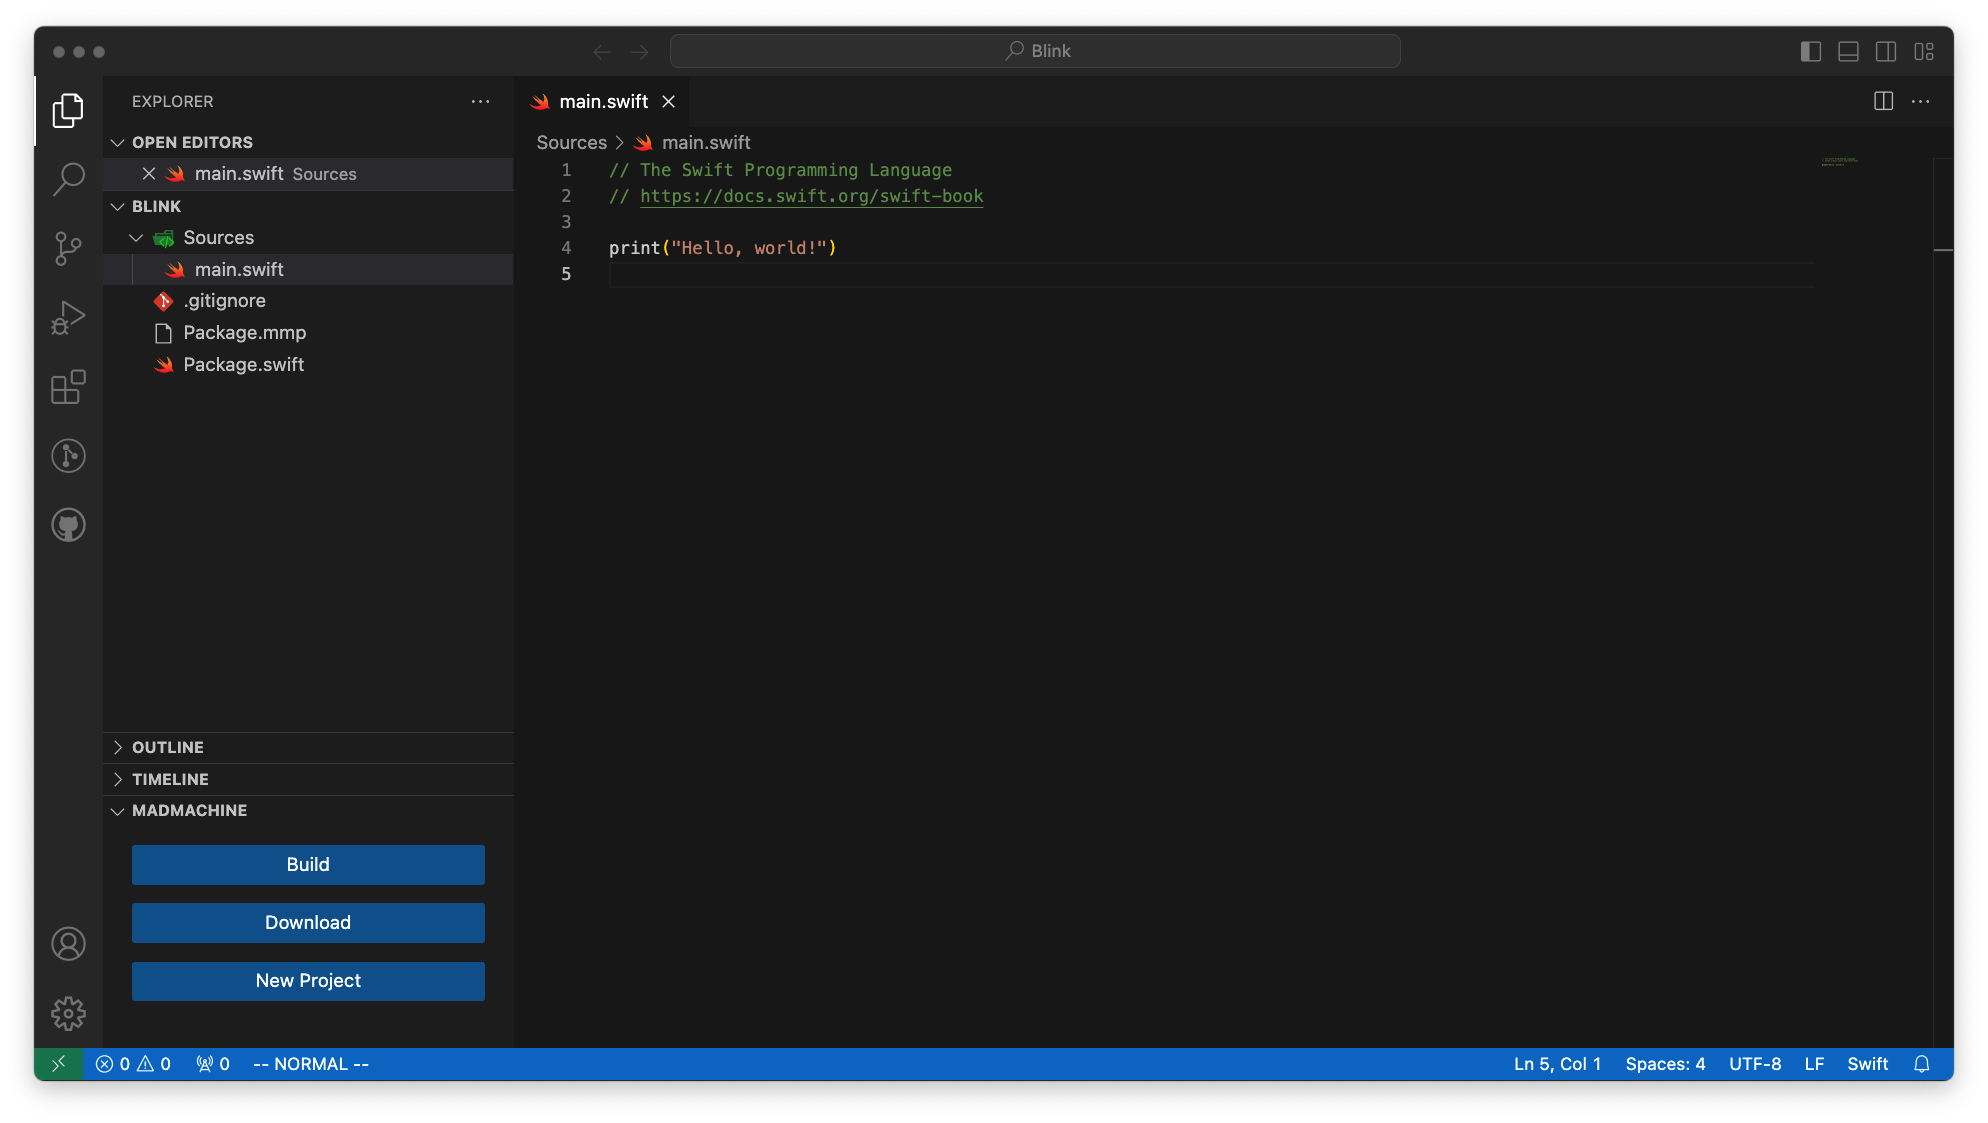
- Click the Explorer icon on the left bar. Then click the MadMachine extension on the bottom to show three buttons. Click New Project.
- Choose the project as an executable.

- Choose the corresponding board you are going to use. Suppose you're using SwiftIO Micro.
info
If the board type of your project and the board you're using doesn't match, your board cannot recognize the file after downloading. If you want to change the board type, check this tutorial.

- Name the project. You could choose any descriptive name you like for the project. Then press the Enter key.

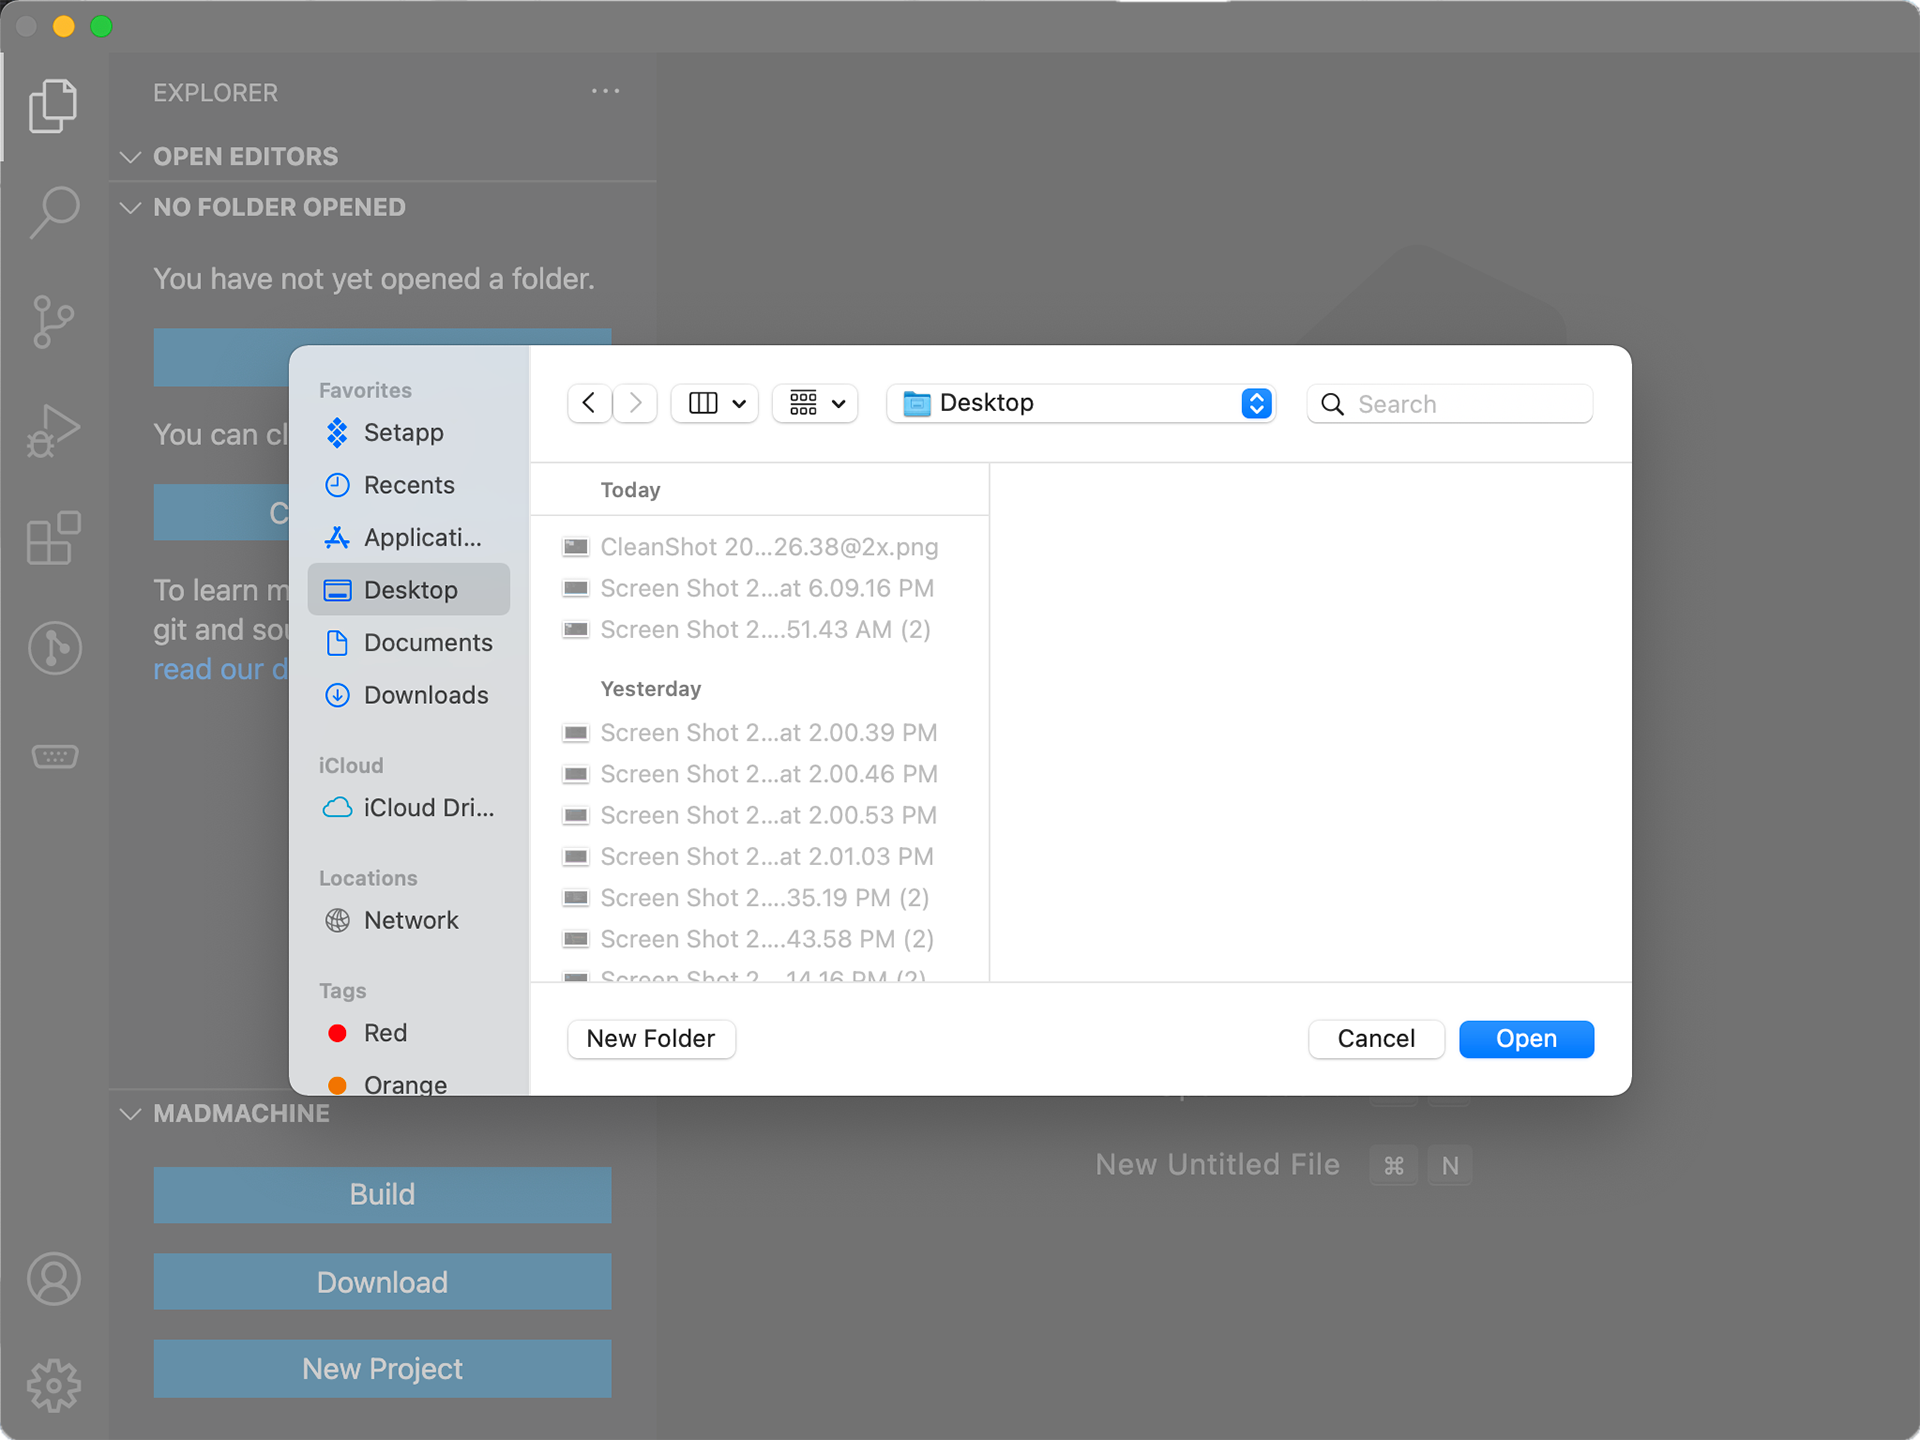
- Choose a location to save the project and click Open.
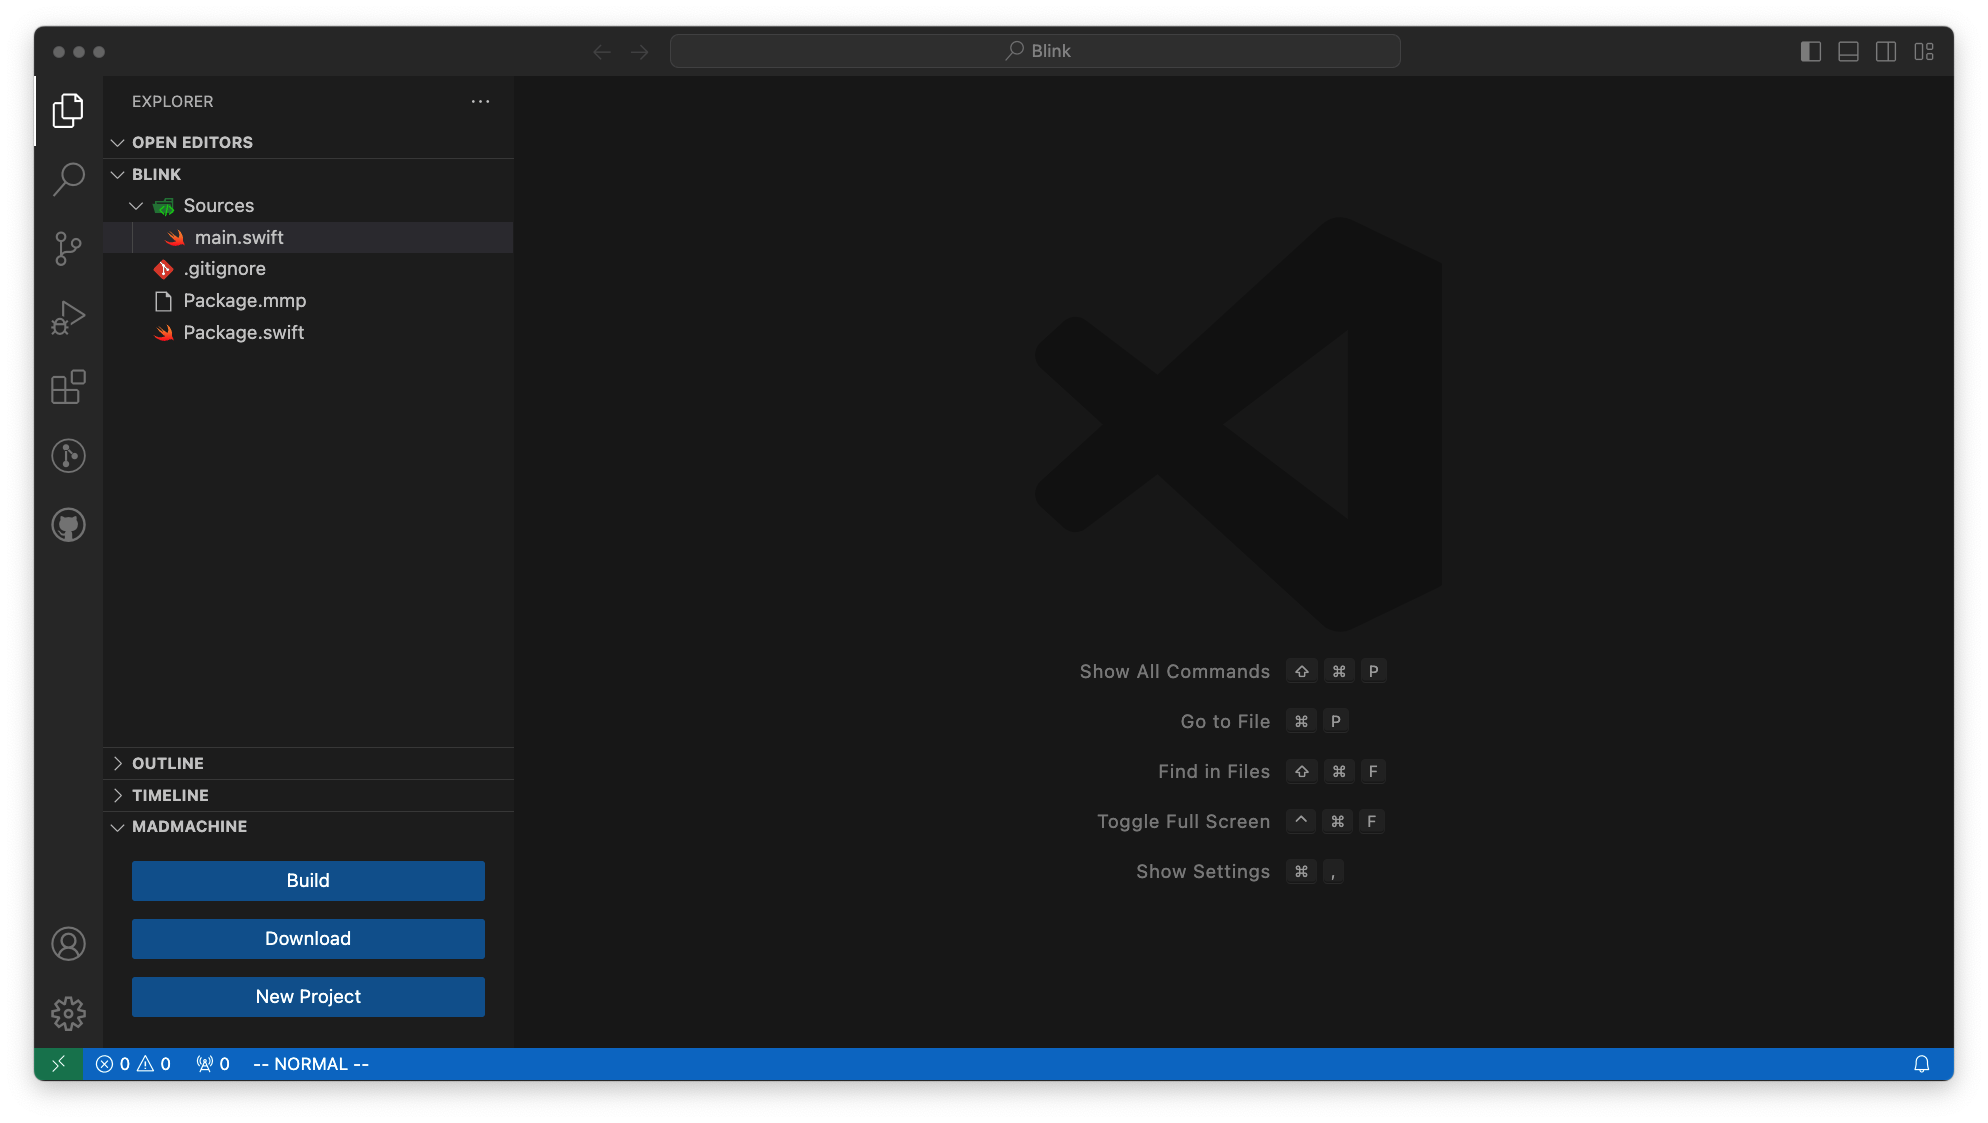
- The project will open in a new window.
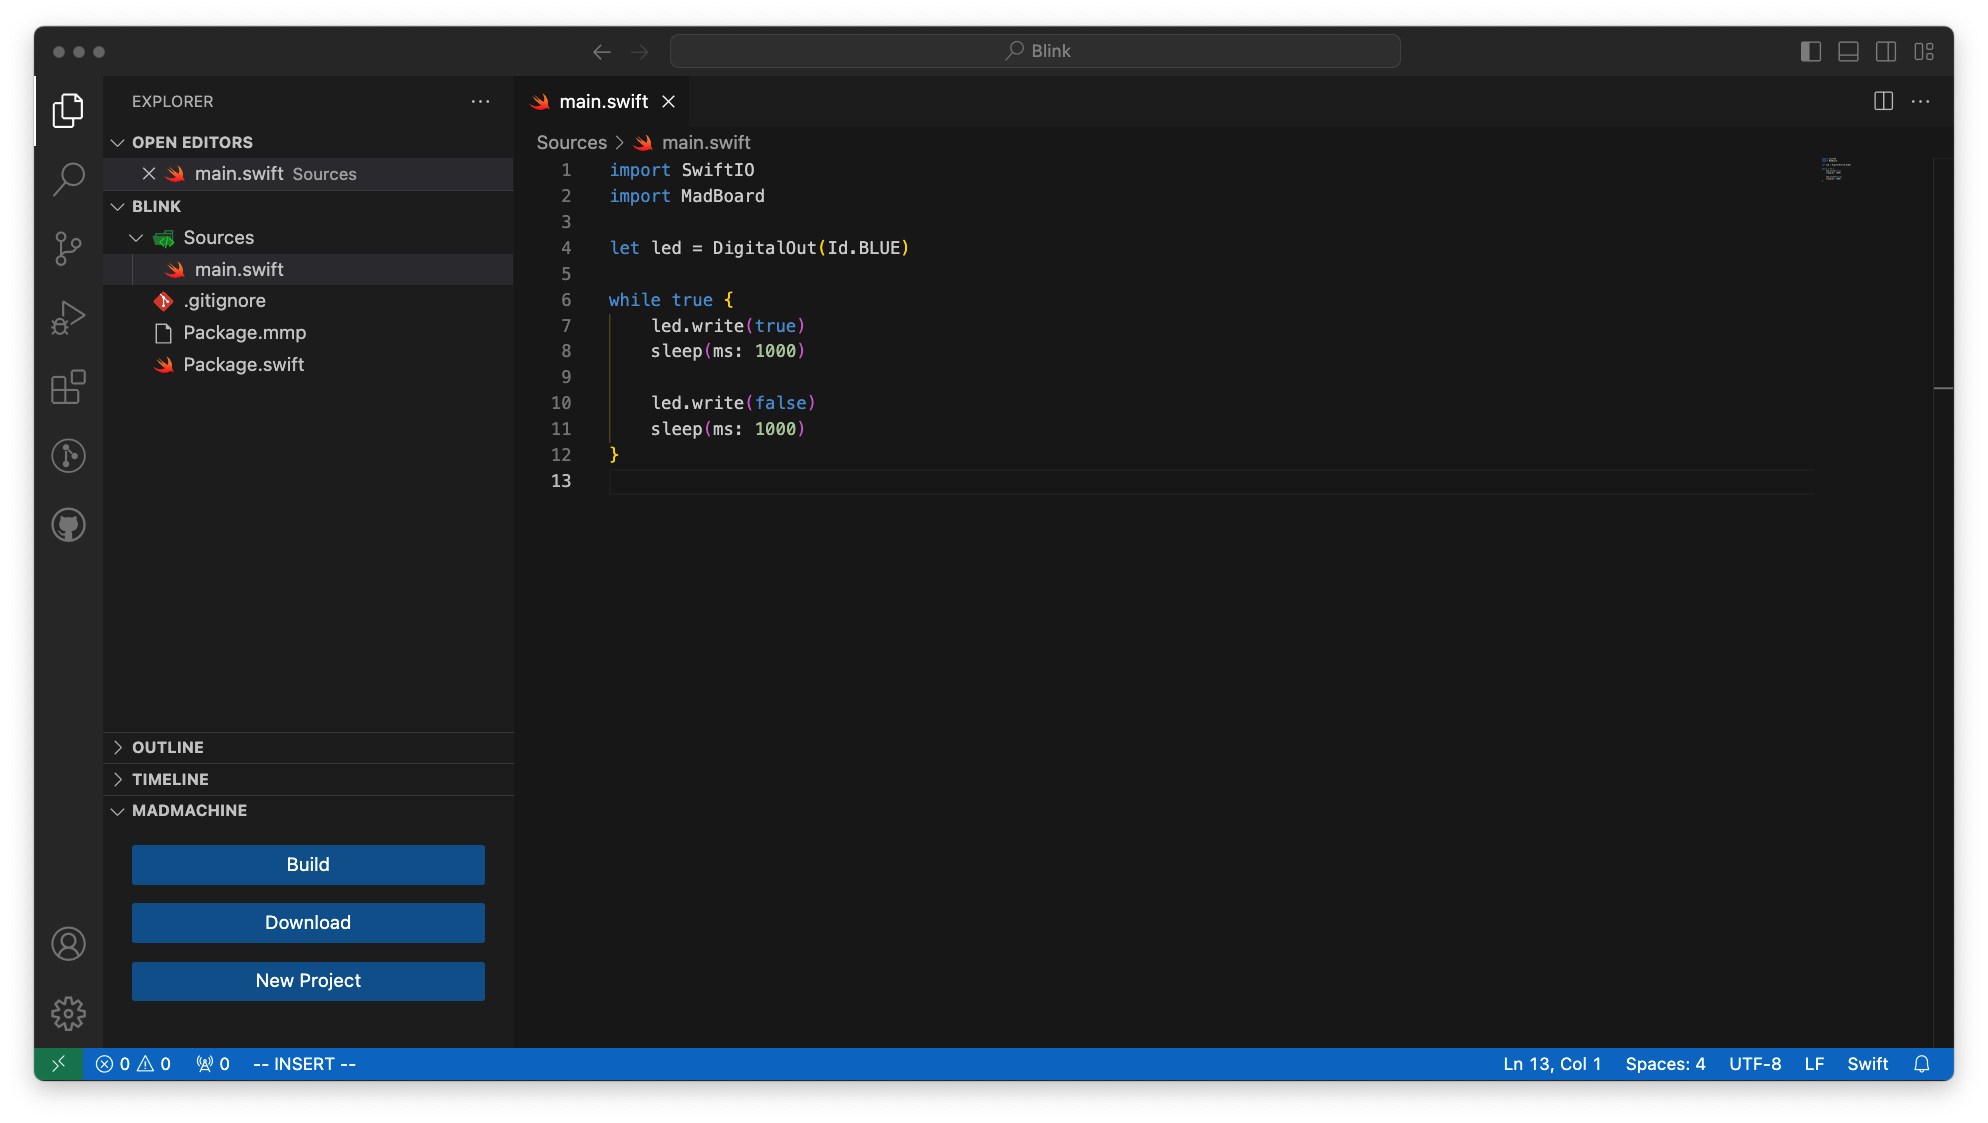
- Click on the Explorer
Sources/main.swiftto open the file.
- Copy and paste the following sample code into the file.
main.swift
import SwiftIO
import MadBoard

let led = DigitalOut(Id.BLUE)

while true {
    led.write(true)
    sleep(ms: 1000)

    led.write(false)
    sleep(ms: 1000)
}