4. Downloading project to board
Well, it's time to download the code to your board. The downloading process is different on different types of boards.
- SwiftIO Micro
- SwiftIO board
- Click the Build button to build the project. It will generate a file that can run on your board.
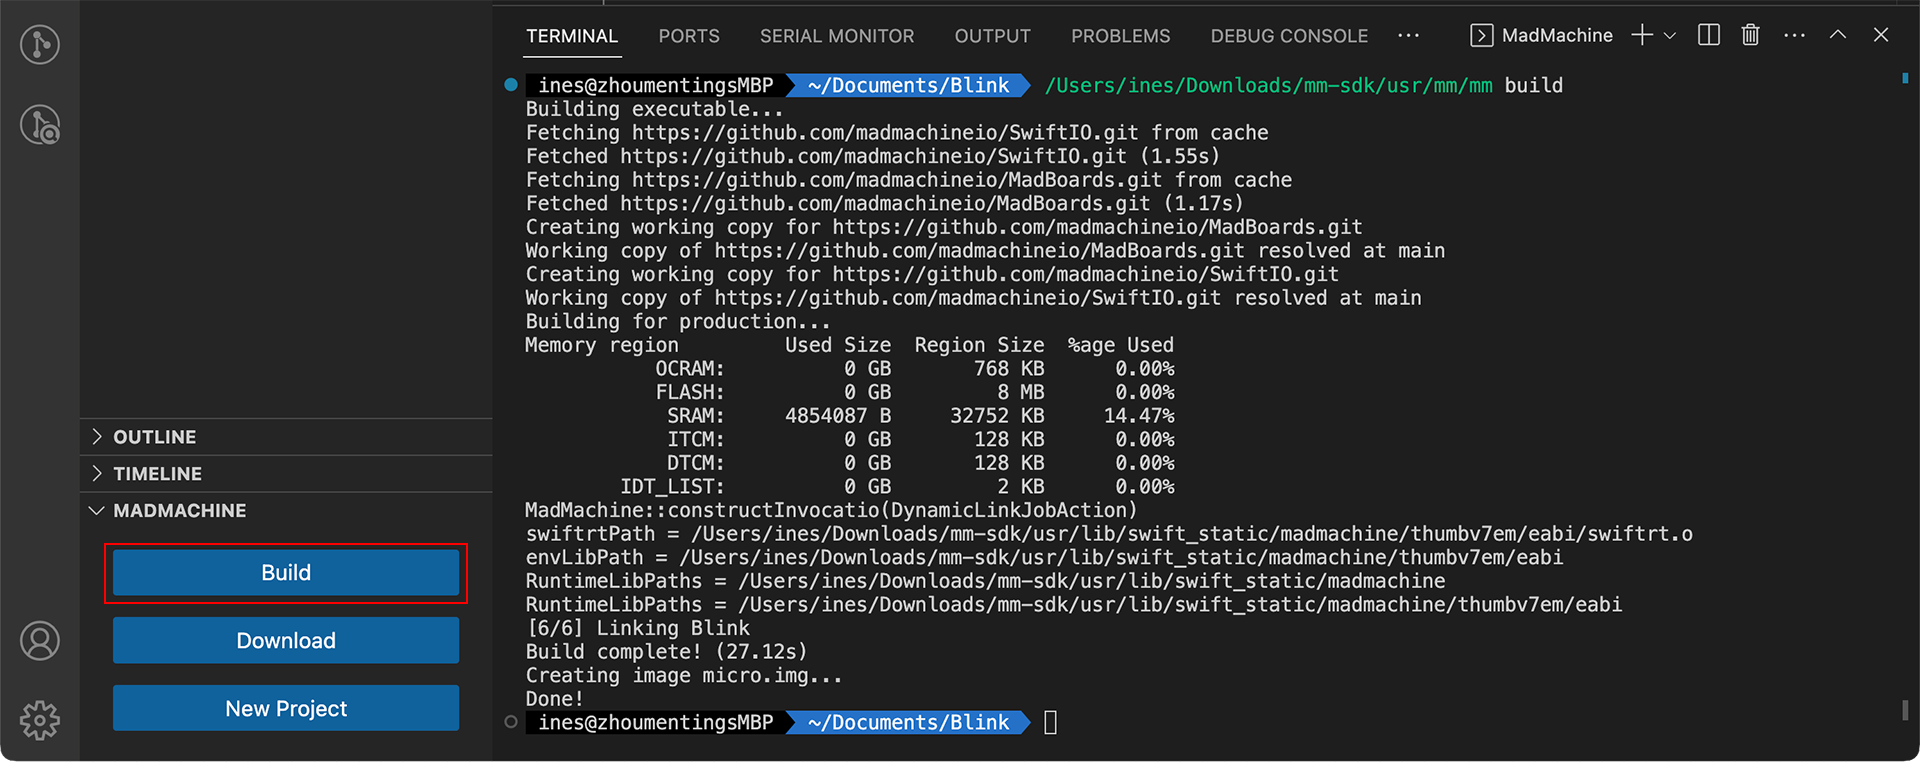
During this process, mm-sdk will fetch all the necessary dependencies from GitHub, as shown in the first several lines of the message. So check the internet connection if it fails.
Once the building process is finished, you will see the message Done! in the terminal.
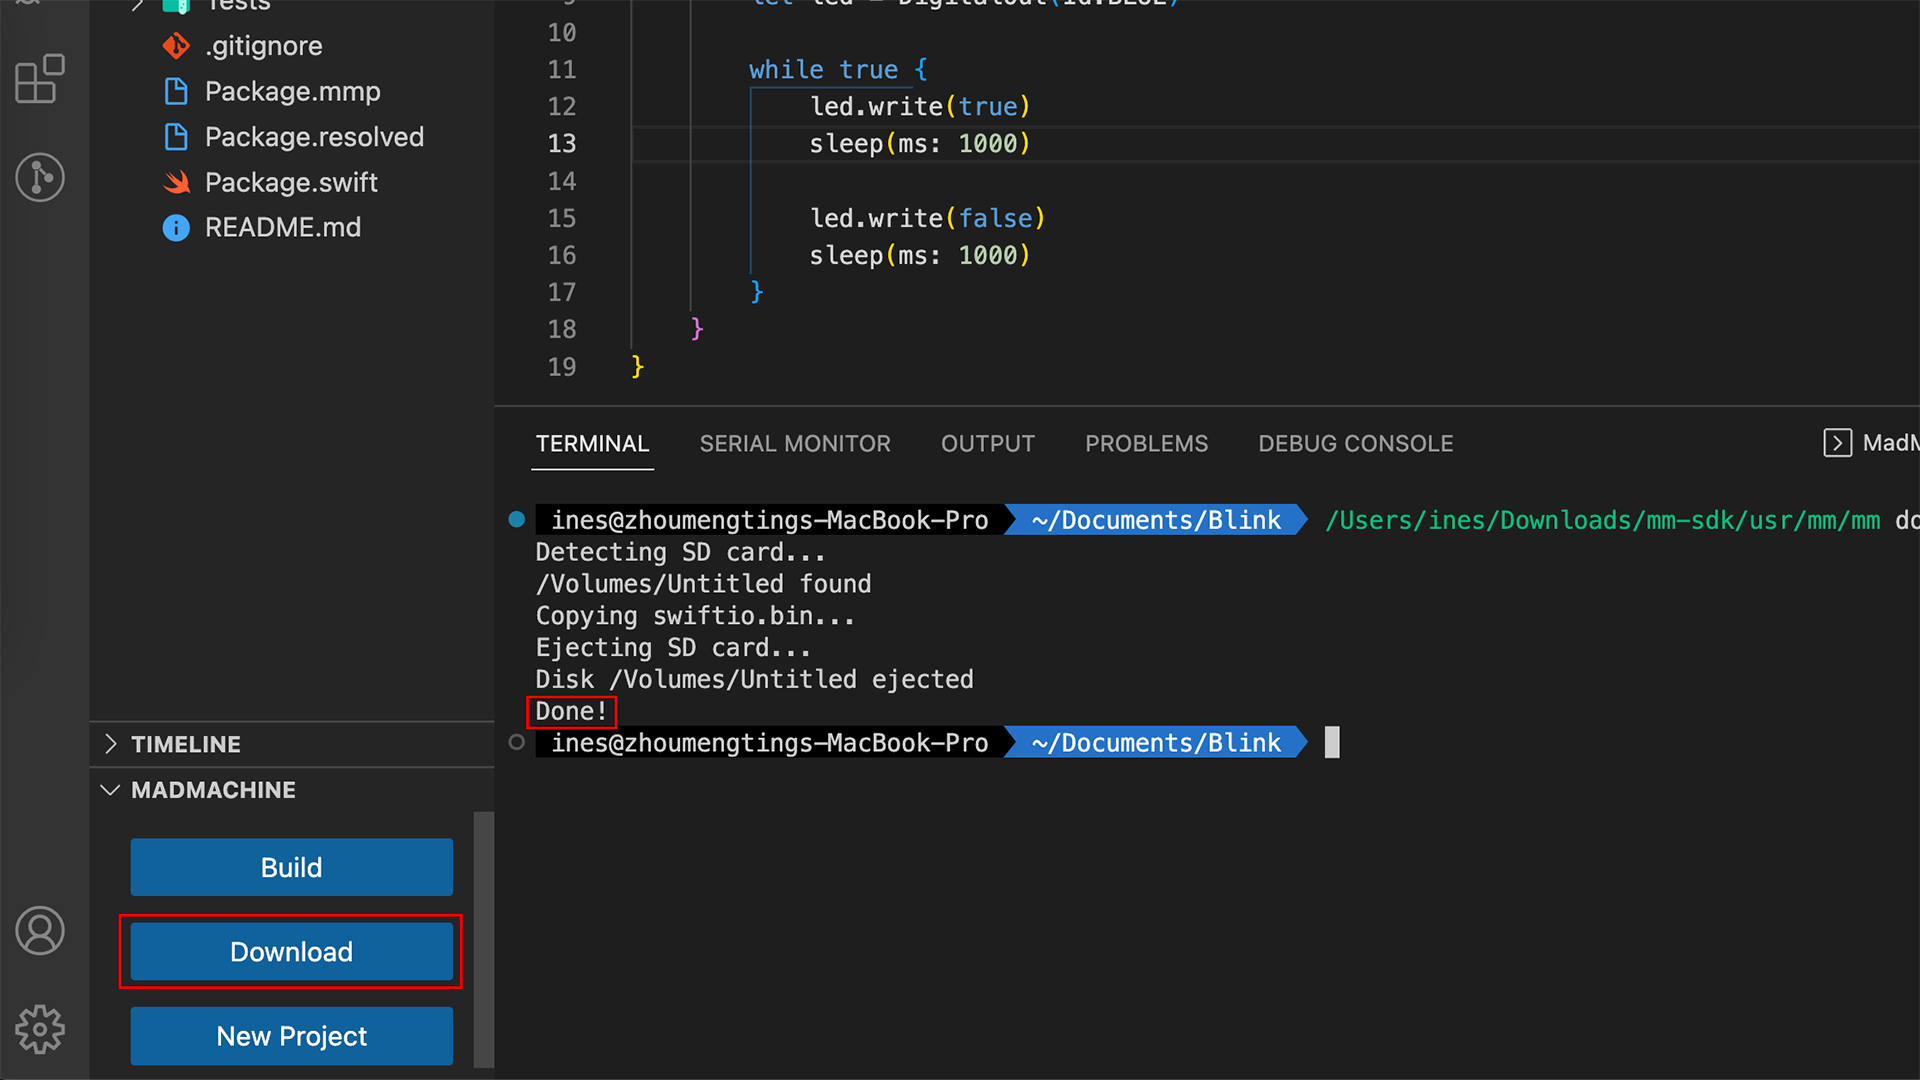
- Click the Download button to download the file to your board. If it's successfully downloaded, you'll see the message Done!.

- Press the Download button. Once pressed, your board will appear as a USB Drive on your computer. There are two buttons on your board. The one labeled Download is the correct one.
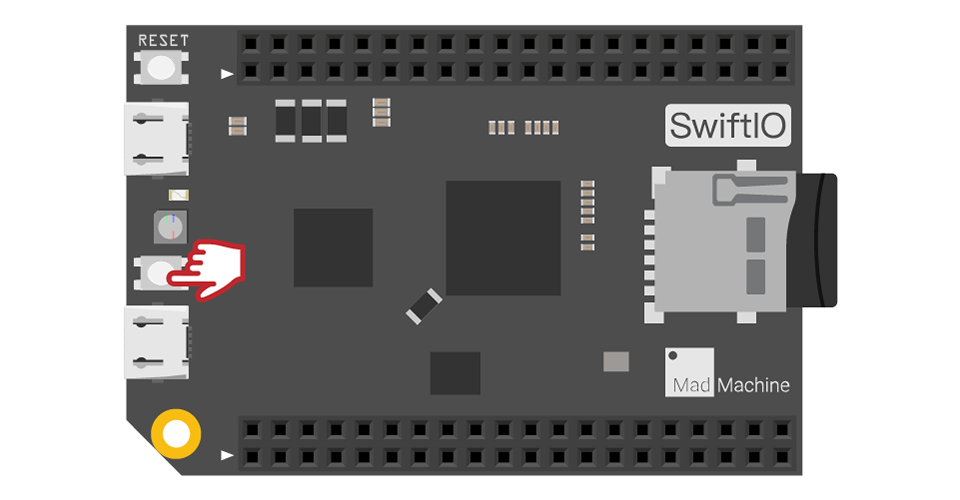
Bad quality USB cable or some third-party USB hub may cause connection failure. If the board still fails to connect to your computer, you can refer to FAQ.
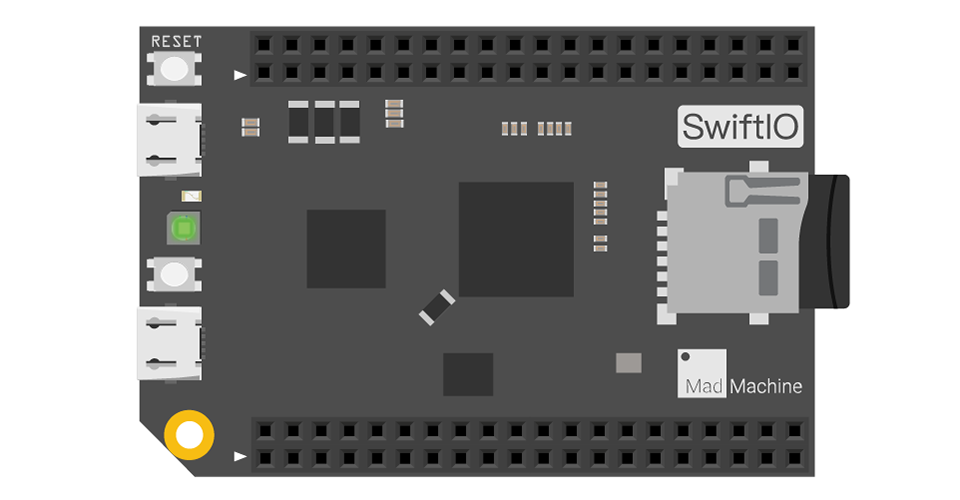
- The onboard RGB LEDs will show the current status of the USB connection. Wait for several seconds until the LED turns to steady green.
| LED State | RED | GREEN | BLUE |
|---|---|---|---|
| On | USB communication failed | USB connection established | - |
| Slow flashing | Fail to verify bin file | - | - |
| Fast flashing | Fail to open bin file | Detecting USB connection | Detecting SD card |
- Click the Build button to build the project. It will generate a file that can run on your board.

During this process, mm-sdk will fetch all the necessary dependencies from GitHub, as shown in the first several lines of the message. So check the internet connection if it fails.
Once the building process is finished, you will see the message Done! in the terminal.
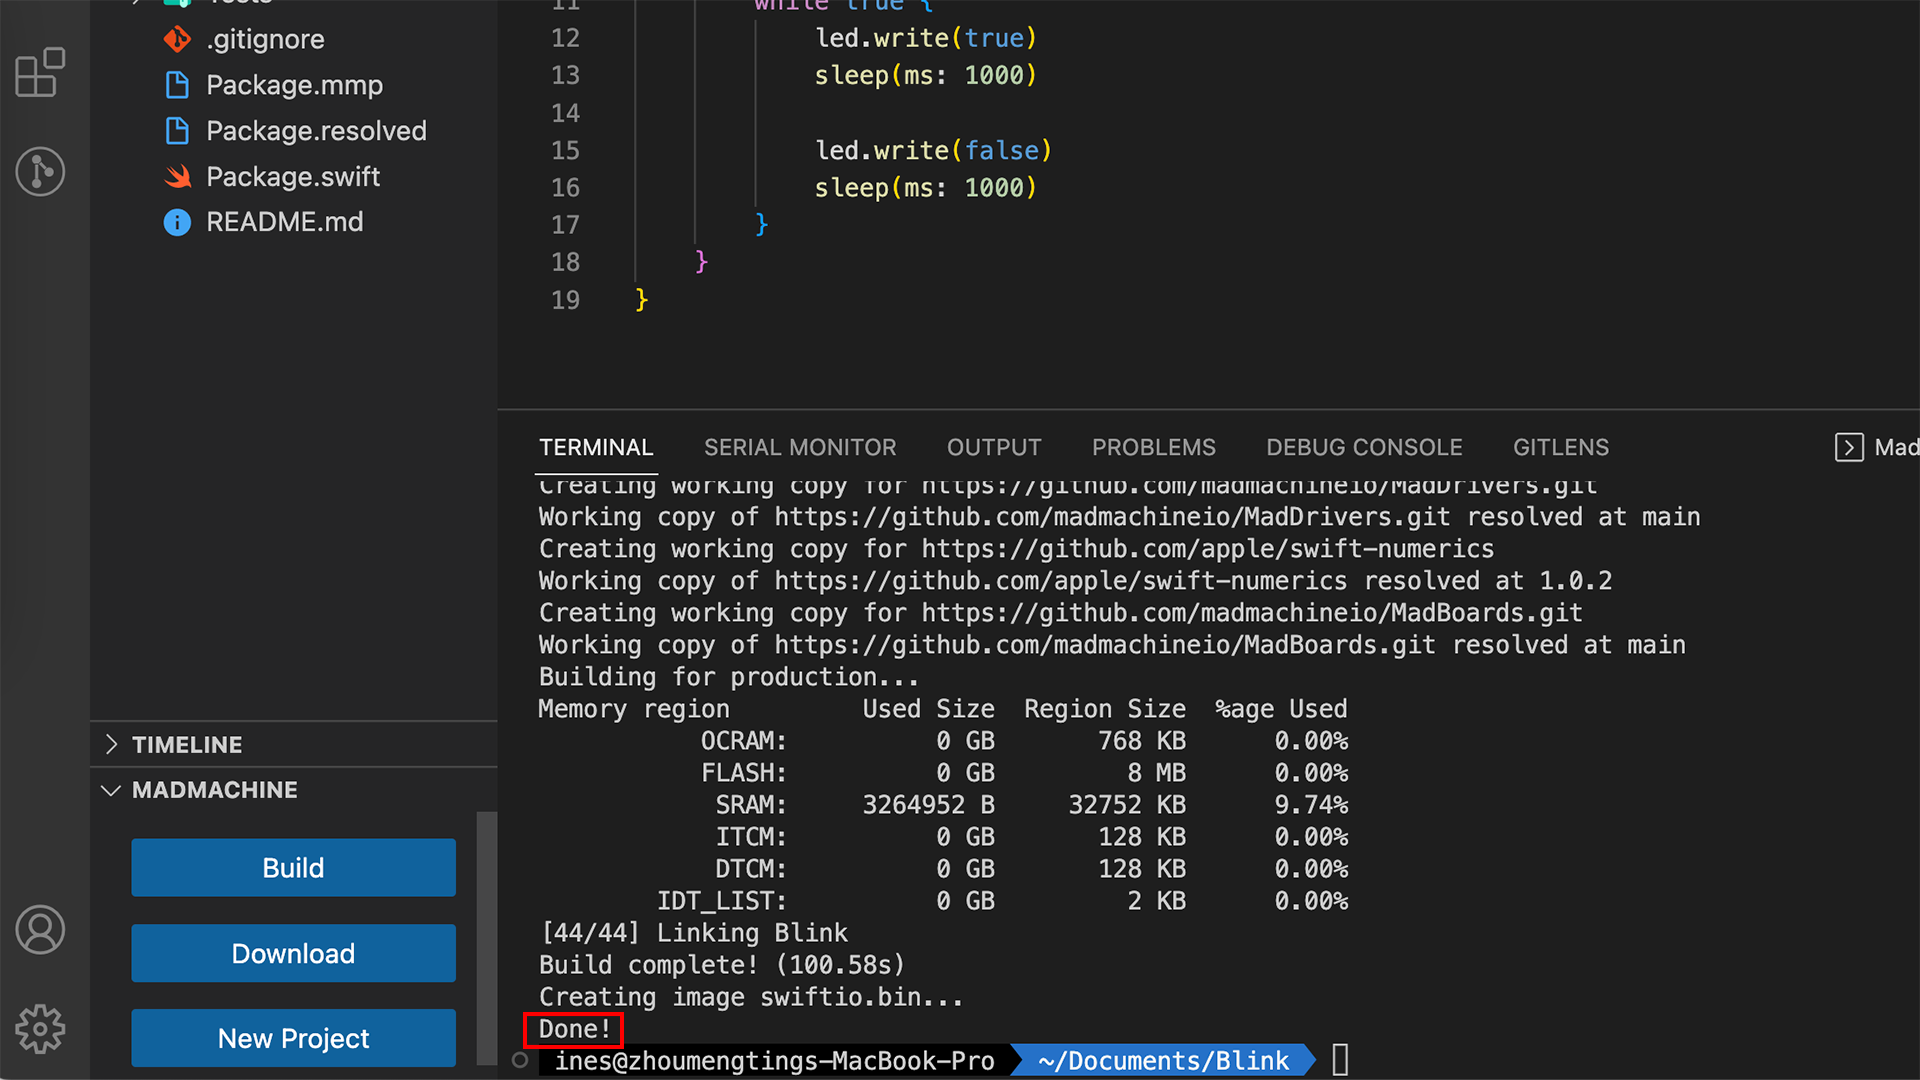
- Click the Download button to download the file to your board. If it's successfully downloaded, you'll see the message Done!.
Congratulations! The onboard blue LED begins to blink per second✨.