Blink with timer
In the previous demo, you change the output constantly and use the function sleep to blink LEDs. Besides, you can use a timer to realize the same effect. So this example shows how to use the timer and interrupt mechanism on your board to make the red LED blink per second.
What you need
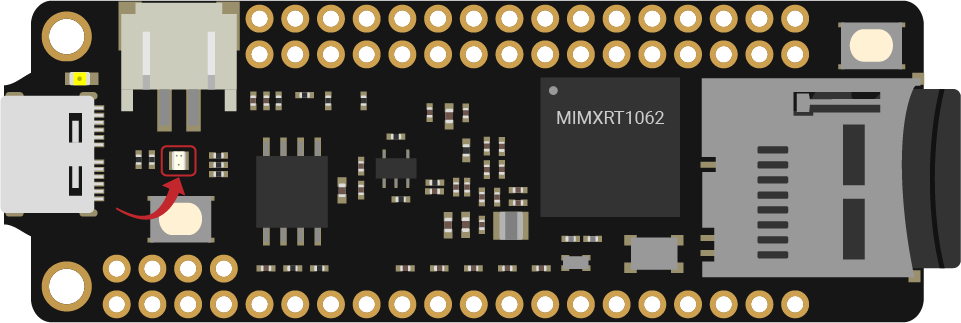
- SwiftIO Micro (or SwiftIO board)
Circuit
All you need is a compatible board. Connect it to your computer to download the code.
Example code
Open the project BlinkTimer in the folder MadExamples/Examples/SimpleIO if you downloaded the examples.
// Change the LED state every second by setting the interrupt.

// Import the library to enable the relevant classes and functions.
import SwiftIO
import MadBoard

@main
public struct BlinkTimer {
    public static func main() {
        // Initialize the red onboard LED and a timer to set interrupt.
        let red = DigitalOut(Id.RED)
        let timer = Timer(period: 1000)

        // Raise the interrupt to turn on or off the LED every second.
        timer.setInterrupt() {
            red.toggle()
        }

        while true {

        }
    }
}
Background
Interrupt
An interrupt ensures that the processor responds immediately to some events. When a given condition meets, the processor will stop its current job to perform other tasks with higher priority, called ISR. In this way, your board can do something else without waiting there doing nothing.
The interrupt can happen under several different conditions. You will use a timer to trigger it in this demo.

The task you choose for interrupt should be able to execute extremely quickly. Usually, we tend to change the state of digital pins or update some values.
Timer
The timer is a part of the hardware on the board. It works just like an alarm clock. You set the time interval for the interrupt. If the time is up, the microcontroller will execute the specified program.

Code analysis
let timer = Timer(period: 1000)
Initialize a timer. The default mode is .periode which means the timer will work continuously. And the period time is 1s.
timer.setInterrupt() {
    red.toggle()
}
The method setInterrupt() is used to set the interval and the ISR. It has 2 parameters in all:
start: decide if the timer works as soon as you set it. If not, you can start it manually later.callback: it is the task your board will do. It needs a void function. Since it is the last parameter, you can move this into a pair of curly brackets asred.toggle()above.
In this way, the red LED light will be switched on or off every second.
In the loop, you can make the board do something else when the interrupt has not happened.
Reference
DigitalOut - set whether the pin outputs a high or low voltage.
Timer - set the timer to make your board do some certain tasks at a fixed time.
MadBoard - find the corresponding pin id of your board.